
How do I use the Anti-Cellulite Cupping Massager?
Follow our easy guide for optimal results in weeks:
Our step-by-step guide helps you to achieve the best results with your cupping massager. Consistent use over a few weeks will help you see and feel noticeable improvements!
Step 1: Cleanse + Dry Skin
Before you start, cleanse the treatment area thoroughly and gently pat your skin dry. This ensures there’s no excess dirt or moisture that could affect the treatment.
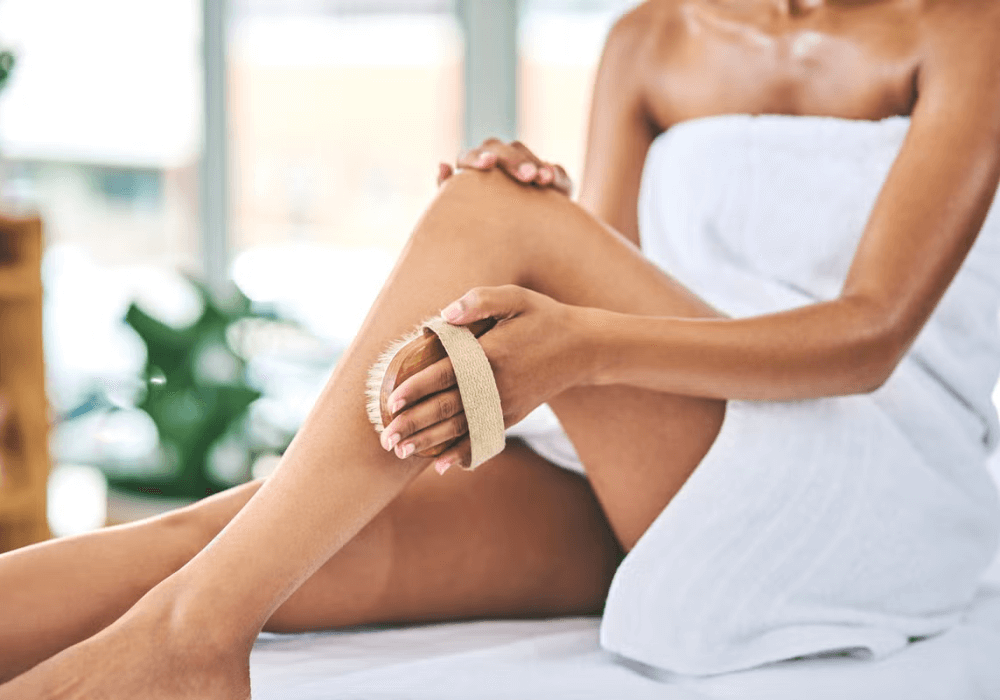
Exfoliate (recommended)
To enhance the effectiveness of your cupping treatment, we suggest exfoliating. This can be done on wet or dry skin, we love our gentle gentle exfoliating brush. Removing dead skin cells will help improve overall results.
Step 2: Apply Oil
For smooth gliding and added benefits, apply a generous layer of your chosen oil to the treatment area. We recommend our Organic Castor Oil due to its nourishing and antioxidant-rich properties, which help to hydrate and prepare your skin for the cupping therapy.
Step 3: Choose Your Mode
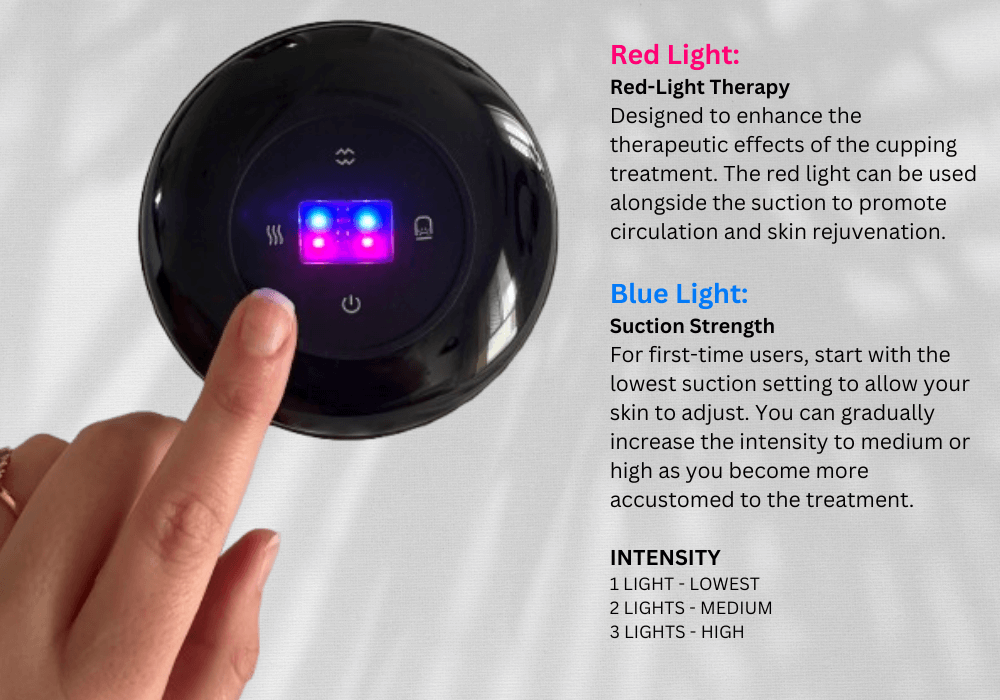
Next, select the desired suction and intensity level on your device:
Blue Light (Suction Strength): For first-time users, start with the lowest suction setting (1 light) to allow your skin to adjust. You can gradually increase the intensity as you become more accustomed to the treatment.
Red Light (Red-Light Therapy): To be used alongside suction to penetrate deeply to promote circulation and skin rejuvenation.
Step 4: Gliding the Device
Now it's time to start using the device. Hold the cupping massager at a slight angle, ensuring the suction cup is in proper contact with your skin
- Avoid holding straight on and pressing it against your skin this can create a strong of vacuum seal and make it difficult to glide smoothly).
- Glide the device in long upward and downward strokes along your target area, following the natural direction of your lymphatic flow. This movement encourages circulation and proper lymphatic drainage to enhance the benefits of the therapy
- Start with 3 minutes per target area to allow your skin to adjust. Gradually increase your session time to 5 minutes per area as your skin becomes accustomed to the treatment.
- For optimal results, we recommend using your cupping massager 3-4 times per week. Once you’ve achieved your desired results, you can reduce the frequency to once per week for maintenance.
Step by step video tutorial...

Additional Handy Tips...
Why does the Cupping Massager use a stop-start motion?
This built-in design feature enhances both the effectiveness & comfort of your treatment! Here’s how:
✔️ Mimics Professional Cupping Techniques – The pulsing suction produces optimal circulation & lymphatic drainage
✔️ Enhances Results – The rhythmic pattern encourages deeper stimulation of tissue, promoting skin tightening and cellulite reduction
✔️ Prevents Excessive Strain on the Skin – Continuous suction can be too intense, so the stop-start action helps avoid any discomfort
What is the Pressure Pause Button?
Your device is equipped with a pressure pause button, allowing you to quickly release the cupping pressure with just one click. The device will immediately enter standby mode when the button is pressed, making it easier to remove from your skin without discomfort.
The best way to remove the device from your skin is to break the suction seal by placing a finger between the device and your skin, where it will then 'pop' off your body.
Why can cupping cause bruising?
Cupping therapy is an ancient healing technique thats been used for centuries to ease pain, relieve stress, remove toxins and promote recovery and healing. The suction draws blood to or away from an area and causes capillaries under the skin to rupture, leading to an influx of blood and other fluids that results in discolouration.
Your body then replenishes the cupped areas with healthier blood flow and stimulates proper healing at a cellular level.
Visible marks are temporary, completely normal and typically fade within a week to two.
How can I best minimize marks?
- Staying hydrated by drinking plenty of water will help flush toxins and supports the body's healing process.
- Using a cold compress or ice pack to minimise swelling/bruising.
- Refrain from strenuous activity immediately following treatment
- After 24 hours, applying a warm cloth can improve blood flow and help the bruise heal faster.


